


Halloween is just around the corner, and that means it’s time to get your pumpkins ready for carving. But what’s the point of creating those spooky masterpieces if they’re going to wither away before the big night? Pumpkin preservation is the key to making your carvings last, reducing Halloween-related waste, and ensuring your Jack-O’-Lanterns shine brightly on Halloween night. In this guide, we’ll share a variety of methods and tips for preserving carved pumpkins so you can enjoy their eerie glow for as long as possible.
Why Preserve Your Pumpkins?
Before we dive into the preservation techniques, let’s understand why it’s essential to keep your pumpkins looking fresh throughout the Halloween season:
- Extended Enjoyment: Preserved pumpkins last longer, allowing you to enjoy your spooky creations for weeks, not just days.
- Reduced Waste: Pumpkins are a natural resource, and carving them only to throw them away shortly after can contribute to environmental waste. Preserving your pumpkins can help reduce this waste.
- Cost-Efficiency: Buying new pumpkins every few days can add up. Preserving your carvings can save you money in the long run.
Now, let’s explore various methods to make your carved pumpkins last:
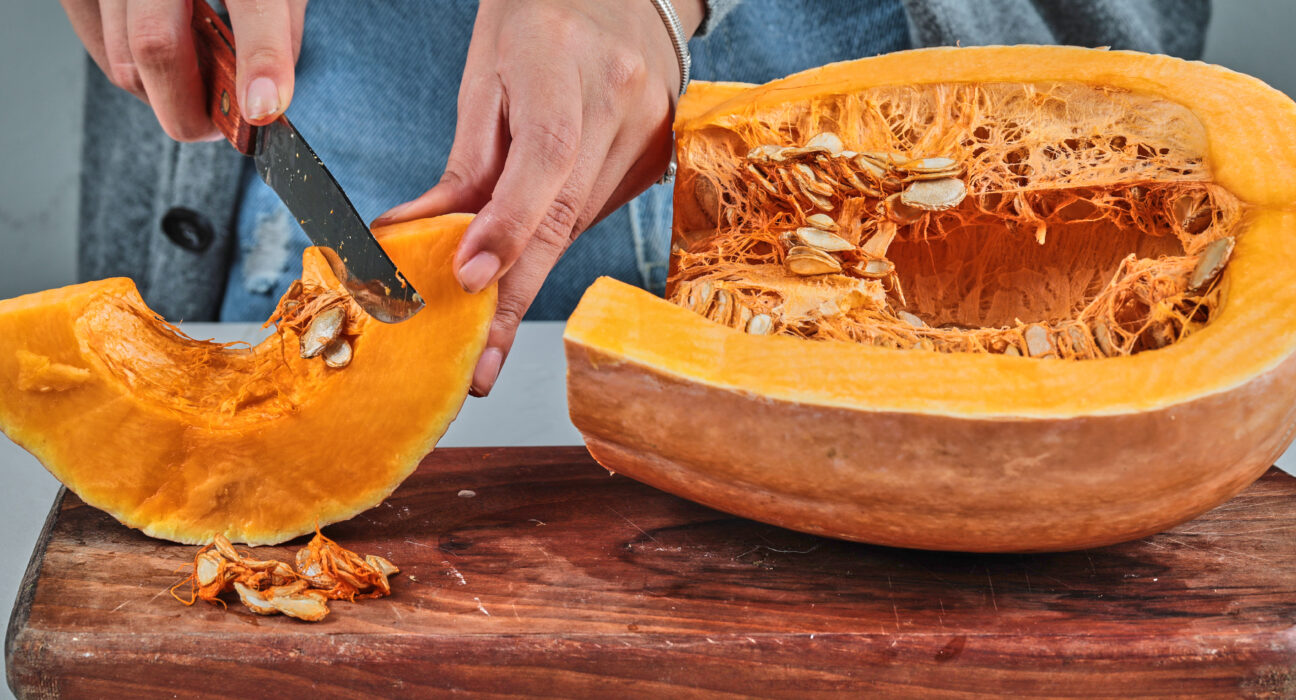
1. Choose the Right Pumpkin
Preservation begins with selecting the right pumpkin. When choosing your canvas for carving, look for these characteristics:
- Firmness: A firm pumpkin is less likely to rot quickly. Avoid soft spots or bruises.
- Thickness: Thicker pumpkins tend to last longer because they have more flesh to work with.
- Fresh Stem: Ensure the stem is attached and looks healthy. A broken or decaying stem can accelerate the rotting process.
2. Clean and Disinfect
Once you’ve picked the perfect pumpkin, it’s essential to clean and disinfect it to remove any bacteria or mold that might already be present:
- Wash: Give your pumpkin a gentle bath with mild soapy water. This will remove dirt and bacteria from the surface.
- Rinse: Rinse thoroughly with clean water to remove soap residue.
- Disinfect: Soak the pumpkin in a mixture of 1 gallon of water and 1 tablespoon of bleach for about 10 minutes. This will kill any existing bacteria.
- Dry: Allow the pumpkin to air dry completely before carving.
3. Proper Carving Techniques
To extend the life of your pumpkin carvings, consider the following tips when carving:
- Use Clean Tools: Ensure your carving tools are clean and sanitized before use.
- Create Ventilation: Instead of removing a traditional lid, carve a hole in the back of the pumpkin. This allows for better air circulation and reduces moisture buildup inside.
- Smooth Edges: Smooth out rough edges around the openings to reduce the risk of mold growth.
4. Apply a Preservative
There are several methods to apply preservatives to your carved pumpkins:
- Petroleum Jelly: Apply a thin layer of petroleum jelly to the cut edges of your pumpkin. This helps seal in moisture and slows down dehydration.
- Bleach Solution: Mix 1 tablespoon of bleach per quart of water and use a spray bottle to lightly mist the inside and outside of your pumpkin. This prevents mold and bacterial growth.
- Commercial Pumpkin Preservative Sprays: Many stores offer pumpkin preservation sprays designed to extend the life of your carvings. Follow the instructions on the product for the best results.
5. Keep Your Pumpkins Cool
Heat can accelerate the decay of pumpkins. To prolong their freshness:
- Store in a Cool Place: Keep your carved pumpkins in a cool, dry place when they’re not on display. Avoid direct sunlight and extreme temperatures.
- Refrigerate: If possible, place your pumpkin in the refrigerator overnight to slow down the dehydration process.
6. Rehydrate Your Pumpkins
If your pumpkin begins to shrivel or wilt, you can try rehydrating it:
- Soak in Water: Fill a large container with water and immerse your pumpkin for a few hours. This can help plump it back up.
- Mist with Water: Regularly mist the inside and outside of your pumpkin with water to maintain moisture levels.
7. Embrace Alternative Carving Ideas
Traditional carving isn’t the only way to create stunning pumpkin decorations. Consider using paint, markers, or other non-cutting methods to decorate your pumpkins. These alternatives can last longer and produce less waste.
Conclusion
With these pumpkin preservation techniques, you can make your Halloween carvings last longer, reduce waste, and enjoy the spooky season to the fullest. Remember to choose the right pumpkin, clean and disinfect it, carve with care, apply preservatives, keep it cool, and rehydrate if needed. By following these tips, you’ll be able to showcase your Jack-O’-Lanterns well beyond Halloween night, making your festivities more eco-friendly and cost-effective. Happy carving!


Leave feedback about this